IMAGE TRANSFORMATION
must be boring if we only can see an image with a static pose, right? But, Photoshop enable us to make a transformation with different position such as resize, skew and many more.
okay, first of all, lets learn how to import a picture from your folder to the photoshop.
STEP 1:drag the image to the adobe photoshop


STEP4: Right click on the picture and choose free transform.right click again.

the picture below will show how your picture will look like:
(i)resize picture


(iii)skew/distort/perspective: The picture can be move backward or frontward from one side.

(iv)crop: just choose picture that you want.
.jpg)

Hue and saturation are another effect for photoshop.its help us adjust the hue, saturation, and lightness of a specific range of colors in an image or simultaneously adjust all the colors in an image.
STEP 1: click on the layer and the picture. make sure you are using the rectangular marquee tool.
STEP2: Layer>new adjustment layer>hue and saturation.


STEP 4:
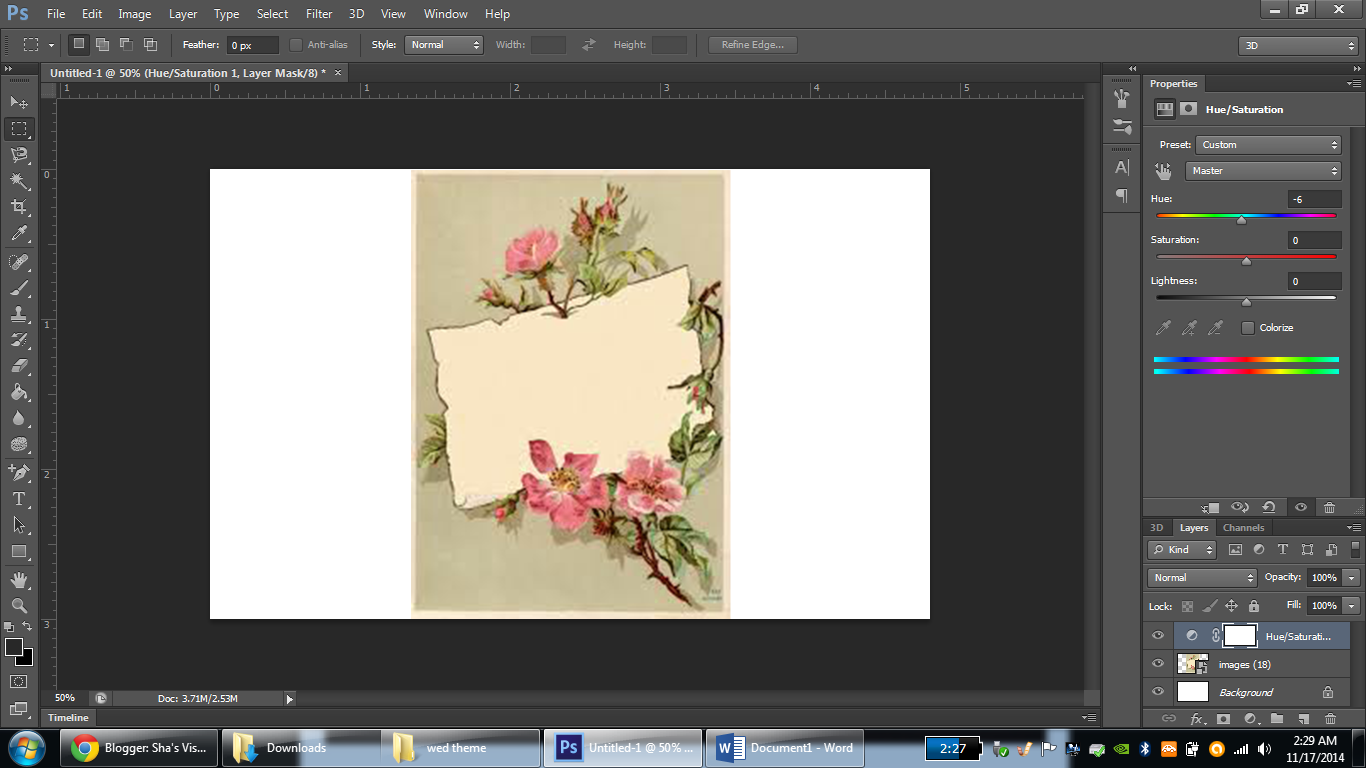
if you look at the right side of the adobe photoshope, there are colour scale. just adjust you preference colour scale and it will automatically adjust your picture with the selected colour.
No comments:
Post a Comment